Starting a hand-tool collection does not require buying everything at once. A narrow set of well-chosen tools — kept sharp and understood thoroughly — produces better results than a cluttered bench of rarely-used equipment. The following breakdown covers the categories that come up repeatedly in beginner woodworking, along with what to look for when selecting each item in Canada.
Measuring and Marking
Accurate measurement underpins every joint and cut. A combination square with a 300 mm (12 in) blade covers most layout tasks: checking for square, measuring depth, and scribing lines parallel to an edge. Look for blades graduated in both metric and imperial — most Canadian lumber dimensions still appear in inches at the yard, even when the nominal size is metric.
A marking gauge with a micro-adjust wheel allows consistent scribe lines parallel to a face or edge. The wheel-style design, rather than a fixed pin, tends to track with the grain more cleanly. A marking knife with a flat back on one side lets you register the blade directly against a square, giving a line that a pencil cannot match in accuracy.
A 3 m (10 ft) tape measure handles rough stock dimensioning. For fine layout, a ruler with clearly stamped graduations at 1/32 in intervals is easier to read than a folding rule in most workshop lighting conditions.
Bench Planes
A bench plane flattens, thicknesses, and smooths wood. Two planes cover the majority of beginner tasks: a No. 5 jack plane for removing material quickly across rough stock, and a No. 4 or No. 4½ smoother for final surface preparation.
Stanley and Veritas are among the brands readily available through Canadian retailers. Vintage Stanley planes from Canadian estate sales often perform as well as new planes once properly tuned — the casting quality of mid-20th century planes is generally sound. Expect to flatten the sole, adjust the frog, and hone the blade before reliable use from any used plane.
The cap iron (also called a chip breaker) position matters more than many beginners realise. Setting it 0.5 mm to 1 mm back from the cutting edge and bedded tightly against the iron significantly reduces tearout on figured grain — a common issue with Canadian maple and birch.
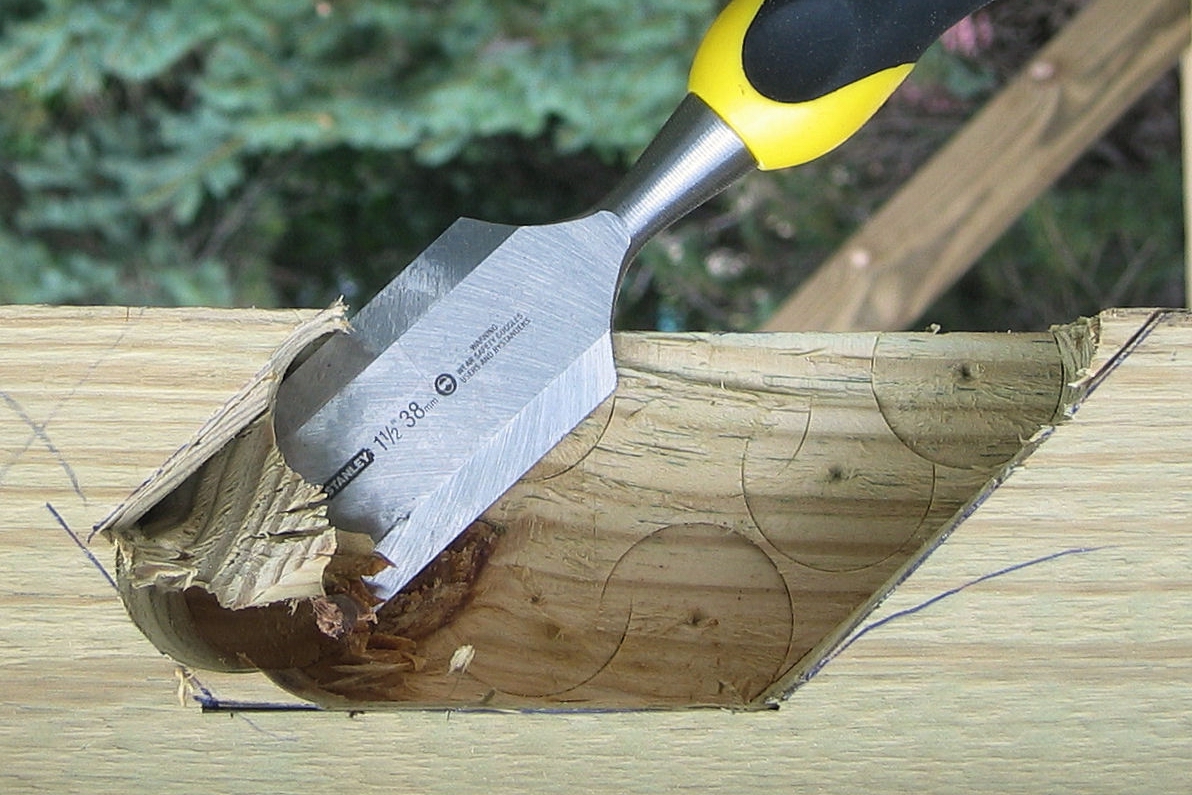
Chisels
A set of four bevel-edge bench chisels — 6 mm, 12 mm, 19 mm, and 25 mm — handles most joinery tasks at the beginner level. Bevel-edge geometry allows the tool to reach into corners of dovetails and mortises where a firmer chisel would not fit cleanly.
Chisels from Narex, Pfeil, or Ashley Iles represent good starting points at different price levels. Canadian Tire and Lee Valley both stock beginner-appropriate options. The primary concern is steel quality: chisels that cannot hold an edge for more than a few minutes of use become a nuisance that affects learning. Most inexpensive chisels benefit from re-grinding to a 25-degree primary bevel before adding a 30-degree micro-bevel at the cutting edge.
Hand Saws
Two saw types handle the majority of beginner cuts. A crosscut panel saw with 10–12 teeth per inch cuts across the grain of boards. A rip saw at 5–6 TPI removes material efficiently along the grain for ripping narrow stock.
Japanese pull saws, widely available in Canada, cut on the pull stroke and tend to be easier for beginners to start accurately. Their thin kerf wastes less material. The Suizan and Gyokucho brands are commonly stocked in woodworking retailers across Ontario and British Columbia.
A back saw — either a tenon saw or a dovetail saw — is the third option to add once joinery begins. The rigid spine keeps the blade tracking straight. A dovetail saw with 20–22 TPI in a hybrid rip configuration handles both ripping short grain and crosscutting without switching tools.
Mallets and Hammers
A wooden or rubber mallet strikes chisels without damaging the handle. Lignum vitae and urethane-faced mallets both work, though urethane lasts longer in regular use. A 16 oz (454 g) weight is appropriate for bench chisels up to 25 mm wide.
A claw hammer (20 oz for framing, 16 oz for bench work) handles nailing and the occasional adjustment. A nail set allows countersinking finish nails below the wood surface cleanly.
Sharpening
Sharp tools are not optional — they are the single factor that most separates frustrating woodworking from productive woodworking. A water stone progression of 1000/6000 grit maintains chisels and plane irons. Norton, King, and Shapton stones are all available in Canada and produce reliable results.
A honing guide keeps the bevel angle consistent while learning to sharpen freehand. The Eclipse-style guides accept most chisels and plane irons. Once consistent technique develops, freehand honing is faster, but the guide removes one variable from early sharpening sessions.
Leather strop loaded with green chromium oxide compound removes the wire edge and polishes the bevel to a mirror finish. A few passes on the strop before each use extends the time between full sharpening sessions noticeably.
Storage and Workshop Placement
Tools kept in a closed chest or tool roll maintain their edges longer than those left on an open shelf where ambient humidity and dust accelerate surface oxidation. Canadian winters bring significant indoor heating that lowers relative humidity — keeping a few pieces of camphor or a rust inhibitor strip inside a tool chest reduces corrosion on carbon steel tools during the heating season.
Related resources: Workshop Setup Guide and Safety Practices.